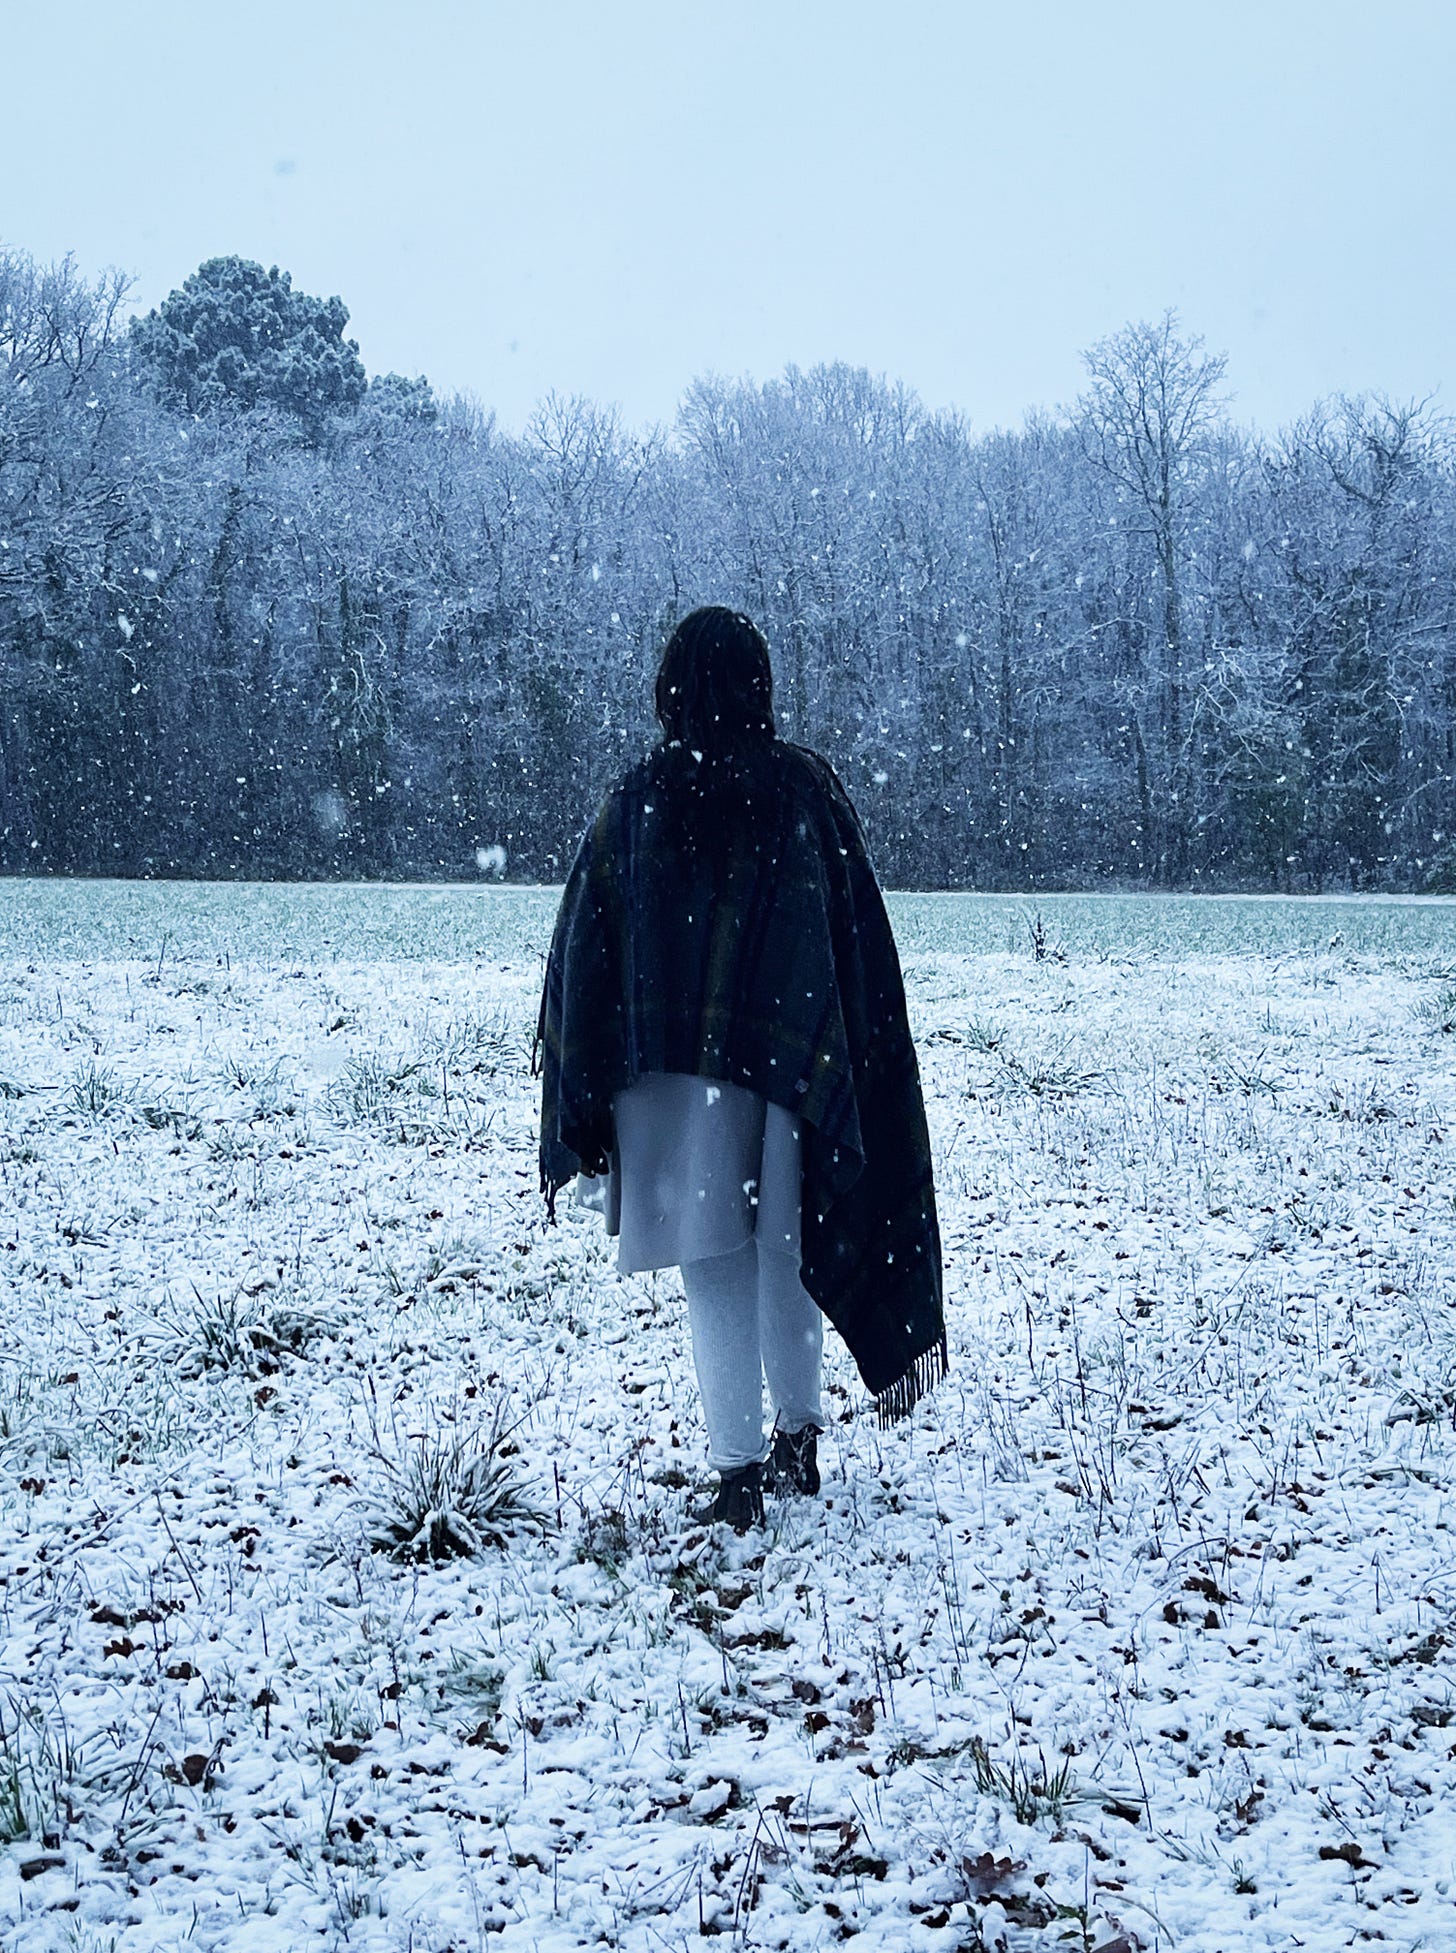
Tis the season again.
And while there’s an awful lot to love about the festive period (the lights! the glitter! the chestnuts! the smells!), the exhaustion and burnout we like to annually gift ourselves can drown out the best of it out.
Especially if you’re trying to promote your work or your business as well.
While I can’t wrap your presents or stuff your turkey for you, there is something I can share that might help. It’s a suuuper simple way to make your festive visual content with a process I like to call Christmasification. -That is, to take an existing, non-festive image, and dial up the Crimbo to eleven.
It’s fast, it’s easy, works on places and products and people, and it can totally eradicate the need for a December of grafting for posts.
Editing a Winter Wonderland
Here’s an example with a photo I took of my car one Spring:
Pretty magic, right? Three easy minutes in Canva and it’s now a winter wonderland! It’s a Christmas miracle!
Below are a few more examples I whipped up: (like brandy butter, like the cream for a trifle, like the simmering resentment at the table when somebody says they ‘quite like Elon Musk’)
I promise, I spent no longer than 5 minutes tops on any one of these edits, and used no other tools. Hopefully you’ll agree that they look pretty convincing, especially on an idle glance.
So, how do you do it? To walk you through I made a really quick video tutorial.
Note: This tutorial is taken from my new Festive Marketing Guide.
If you’ve ever wanted someone to just tell you exactly what to post to get sales and engagement, then this is it! With day-by-day Instagram posting schedules for product and service based businesses, prompts for blogs and Substack, email marketing and lots more.
Check it out here
🌲
How it’s done
To access all these features you’ll need a Canva pro (aka paid) membership. Fortunately, they offer a free trial, and after that prices start from £7 per month, and you can cancel any time.
I’m not affiliated with Canva in any way, I just think they’re the most accessible and user-friendly way to access this kind of tech!
Or if you prefer a text-based tutorial:
1: Create a new Instagram Post design in Canva, then upload and add your photograph.
2: Add then select your photo and click Edit, then navigate to the Magic Edit tool under the Magic Studio tool set.
3: Using the Highlight brush tool, paint over ONE area that you wish to change, e.g. the road.
4: Type into the text box describing the specific edit you wish to make, then hit ‘Generate’.
5: Wait a few moments for the results to appear, then select your favourite.
6: Repeat the process for any other areas of the image you wish to change.
I told you it was stupidly easy, right?
Fake Plastic Trees
Now, I know what some of you might be thinking. Isn’t this all a bit… fake?
And the answer is ‘yes, absolutely!’. And that’s the point!
You’ll note I’m not here pretending to you that these are real and unaltered photographs. I’m not sure they’d live up to scrutiny, either - they look good, but not perfect, of course.
But remember, there’s no requirement to be untruthful about edited imagery. This is a scene from your imagination! Lean into that. Invite us along for the ride!
I’ve gone for realism (ish) in my editing, but you can have so much fun with the ridiculous too. Add a barn own in your kitchen! Make it snow in your living room! Serve a snowman in your shop!
Photoshop and fantasy scenes have been hugely popular for years on Instagram, and they’ve recently even added an option to label images edited with AI. But whereas before, you needed a few hours, a chunk of experience and a pricey Adobe subscription to get anywhere, now you can do it with a couple of clicks.
One of the most powerful ways to use these types of edits is in combination with our tried-and-tested past popular posts.
You might already have a sense of what images have done best in the Insta metrics - or you can check your account stats for your most commented, saved and liked posts. A fresh festive edit means you can re-use it and re-engage your audience, saving you time, getting more mileage from existing content and increasing your all-important reach.
What about Reels?
It’s a pertinent question given Reels are still the single most reliable way to reach new people on Instagram who don’t already follow your account. (Second best is carousels, so consider combining your Christmasified images, or putting together a before/after slideshow for folks).
This editing tool is just for static images, but there’s other things you can do. In my Christmas Content guide I talk about using animated overlays to turn a photograph into a video for Reels. You can see more on this in my Cinemagraph tutorial, here - it’s how I made the cinemagraph below.
For double impact, you can always combine both - a Christmasified photograph, with animated glitter or snowfall to qualify it as a Reel. Peak festiveness.
I hope this was helpful!
What do you think? Will you try it out?
I’d love to see any festive content you cook up this Christmas, however you choose to make it.
Tag me @me_and_orla over on Instagram and I’ll give it a share!
And if you want more help with your December content, especially if you’re an artist, maker, creator or small business owner, check out my Festive Marketing Guide & Planner, here.
Merry everything and a happy December!
Sara xx


I'd forgotten about this! I used to do it for reels using an app called Werbler, and can now do it in CapCut so thank you for the reminder!
Brilliant! Thanks for sharing 😎